External authorization control (FREE SELF)
- Moved to GitLab Free in 11.10.
In highly controlled environments, it may be necessary for access policy to be controlled by an external service that permits access based on project classification and user access. GitLab provides a way to check project authorization with your own defined service.
Overview
After the external service is configured and enabled, when a project is accessed, a request is made to the external service with the user information and project classification label assigned to the project. When the service replies with a known response, the result is cached for six hours.
If the external authorization is enabled, GitLab further blocks pages and functionality that render cross-project data. That includes:
- Most pages under Dashboard (Activity, Milestones, Snippets, Assigned merge requests, Assigned issues, To-Do List).
- Under a specific group (Activity, Contribution analytics, Issues, Issue boards, Labels, Milestones, Merge requests).
- Global and Group search are disabled.
This is to prevent performing to many requests at once to the external authorization service.
Whenever access is granted or denied this is logged in a log file called
external-policy-access-control.log. Read more about the logs GitLab keeps in
the Omnibus GitLab documentation.
Configuration
The external authorization service can be enabled by an administrator on the GitLab Admin Area > Settings > General page:
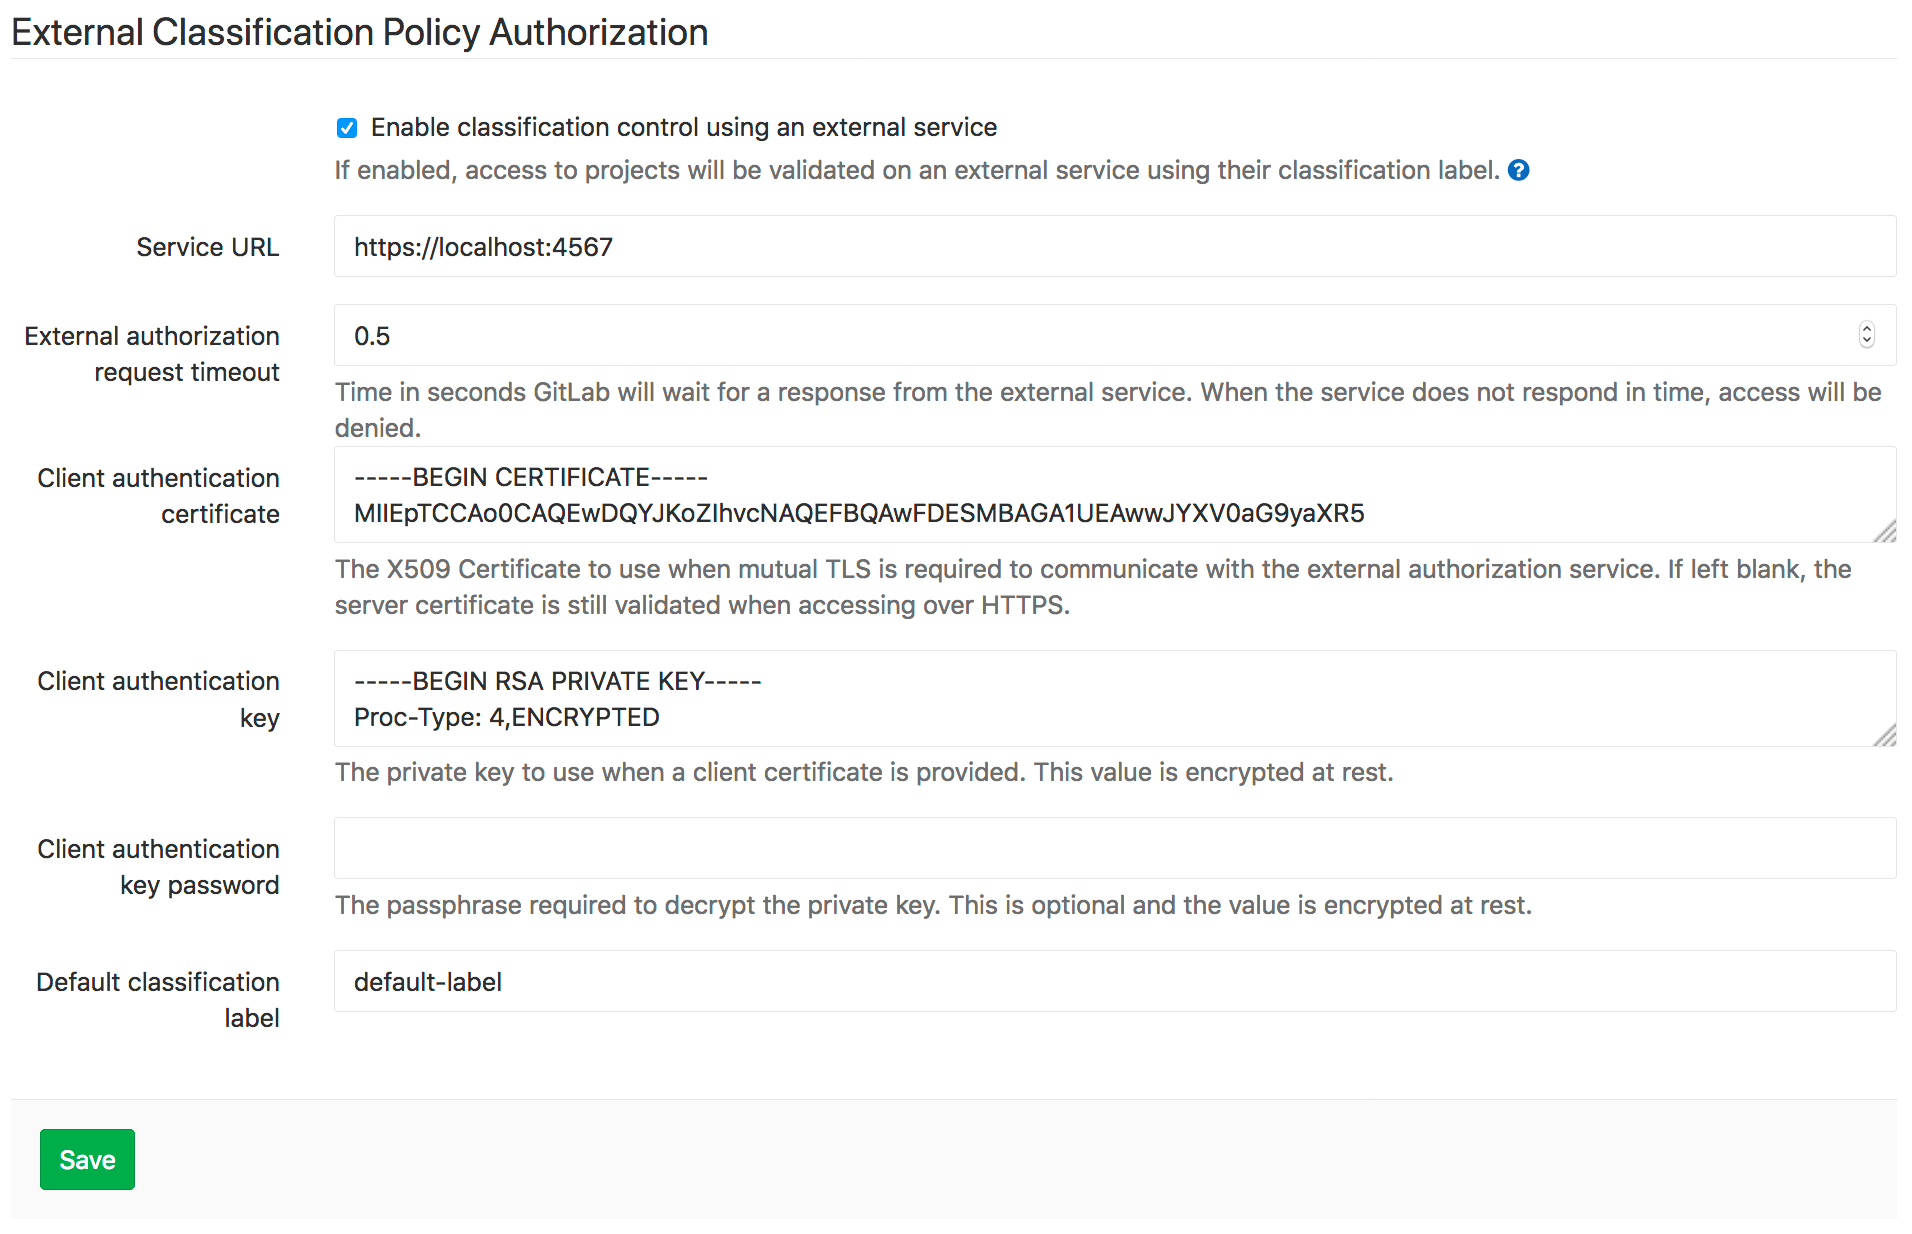
The available required properties are:
- Service URL: The URL to make authorization requests to. When leaving the URL blank, cross project features remain available while still being able to specify classification labels for projects.
- External authorization request timeout: The timeout after which an authorization request is aborted. When a request times out, access is denied to the user.
- Client authentication certificate: The certificate to use to authenticate with the external authorization service.
- Client authentication key: Private key for the certificate when authentication is required for the external authorization service, this is encrypted when stored.
- Client authentication key password: Passphrase to use for the private key when authenticating with the external service this is encrypted when stored.
- Default classification label: The classification label to use when requesting authorization if no specific label is defined on the project
When using TLS Authentication with a self signed certificate, the CA certificate
needs to be trusted by the OpenSSL installation. When using GitLab installed
using Omnibus, learn to install a custom CA in the
Omnibus GitLab documentation.
Alternatively, learn where to install custom certificates by using
openssl version -d.
How it works
When GitLab requests access, it sends a JSON POST request to the external service with this body:
{
  "user_identifier": "jane@acme.org",
  "project_classification_label": "project-label",
  "user_ldap_dn": "CN=Jane Doe,CN=admin,DC=acme",
  "identities": [
    { "provider": "ldap", "extern_uid": "CN=Jane Doe,CN=admin,DC=acme" },
    { "provider": "bitbucket", "extern_uid": "2435223452345" }
  ]
}
The user_ldap_dn is optional and is only sent when the user is signed in
through LDAP.
identities contains the details of all the identities associated with the
user. This is an empty array if there are no identities associated with the
user.
When the external authorization service responds with a status code 200, the user is granted access. When the external service responds with a status code 401 or 403, the user is denied access. In any case, the request is cached for six hours.
When denying access, a reason can be optionally specified in the JSON body:
{
  "reason": "You are not allowed access to this project."
}
Any other status code than 200, 401 or 403 also deny access to the user, but the response isn't cached.
If the service times out (after 500ms), a message "External Policy Server did not respond" is displayed.
Classification labels
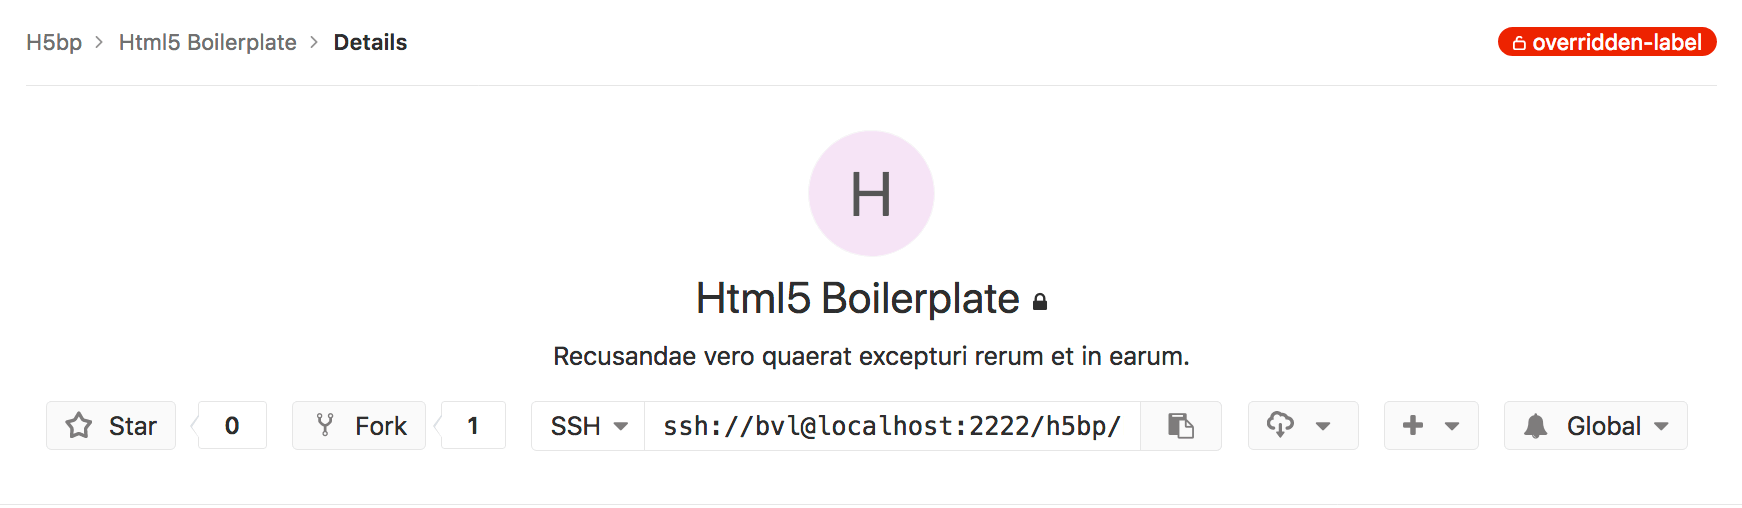
You can use your own classification label in the project's Settings > General > General project settings page in the "Classification label" box. When no classification label is specified on a project, the default label defined in the global settings is used.
The label is shown on all project pages in the upper right corner.